August 19, 2022 - Working on the RV-10
We've definately picked up the pace on the RV-10. Some weeks we're able to put in 40 man-hours.
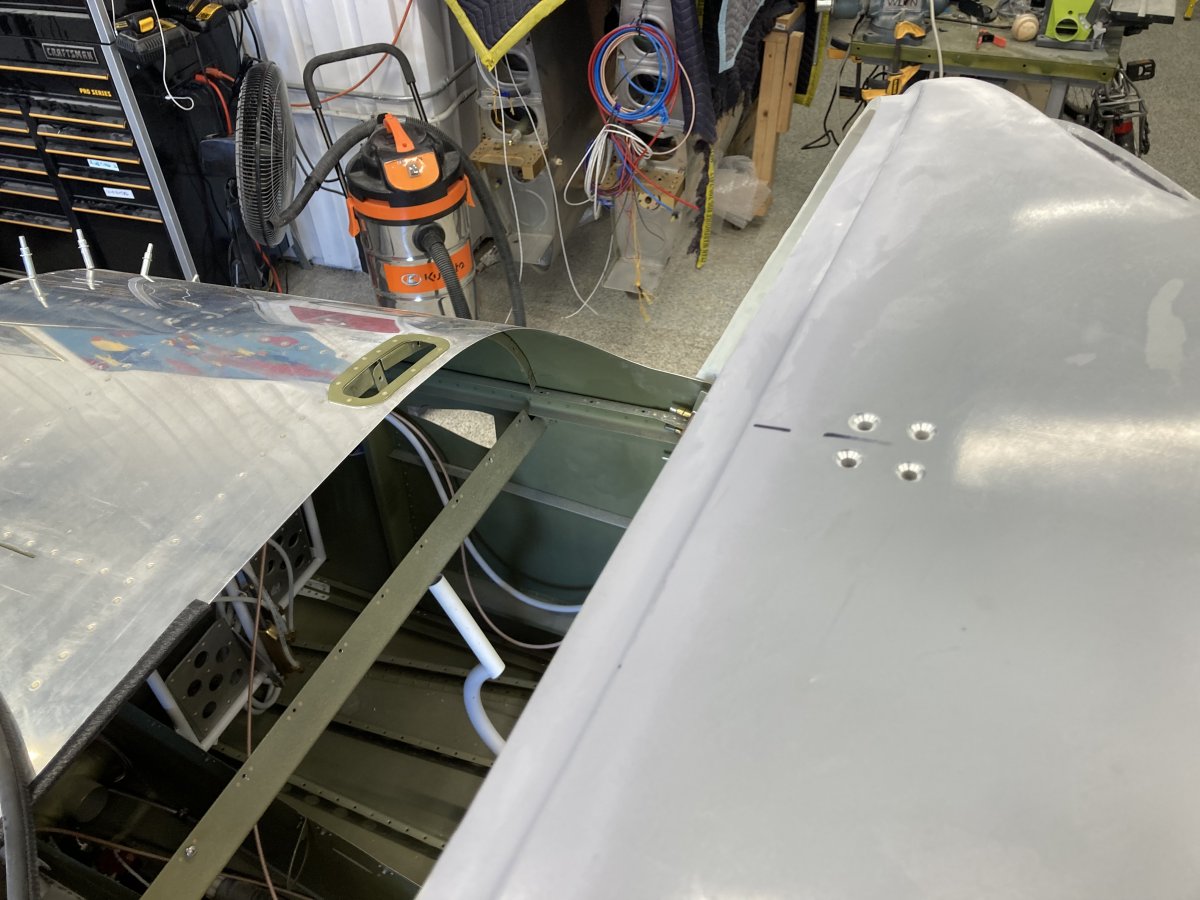
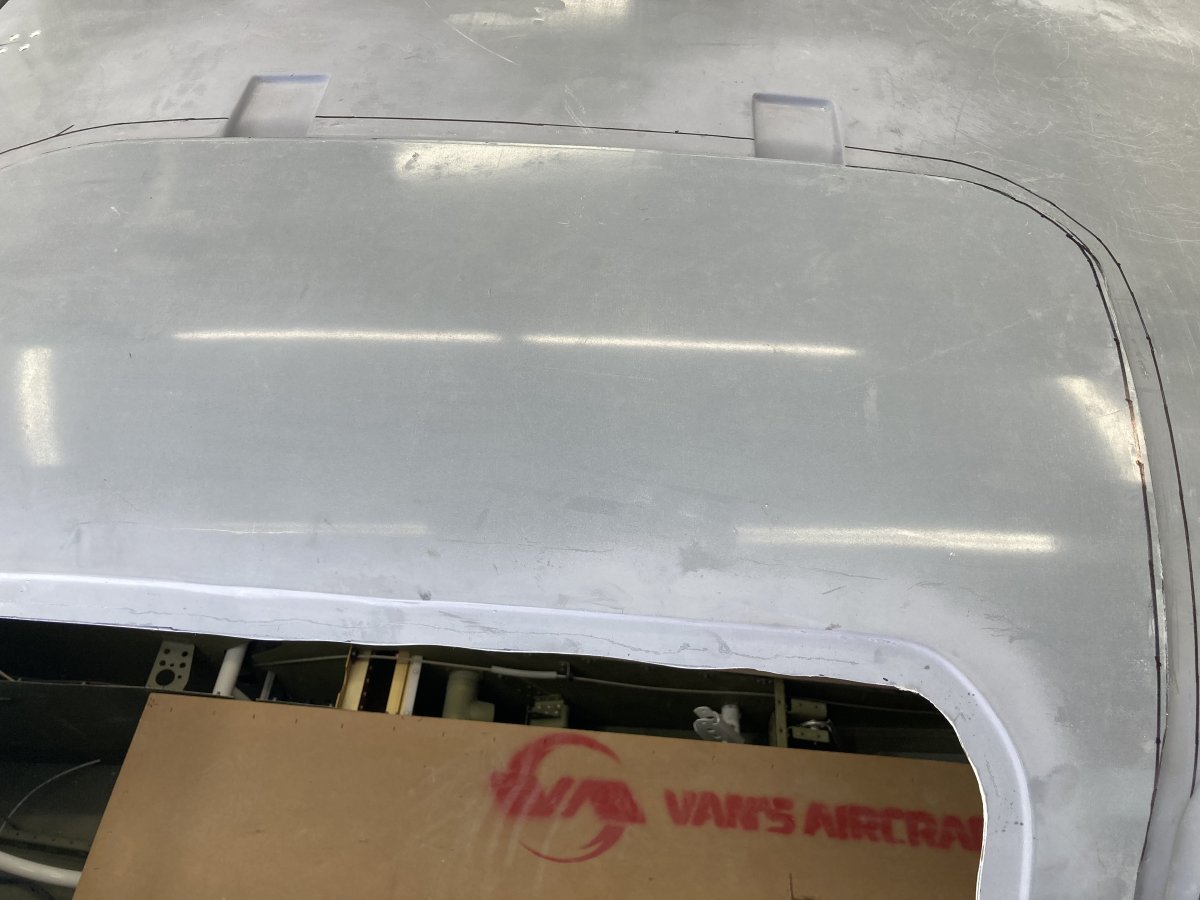
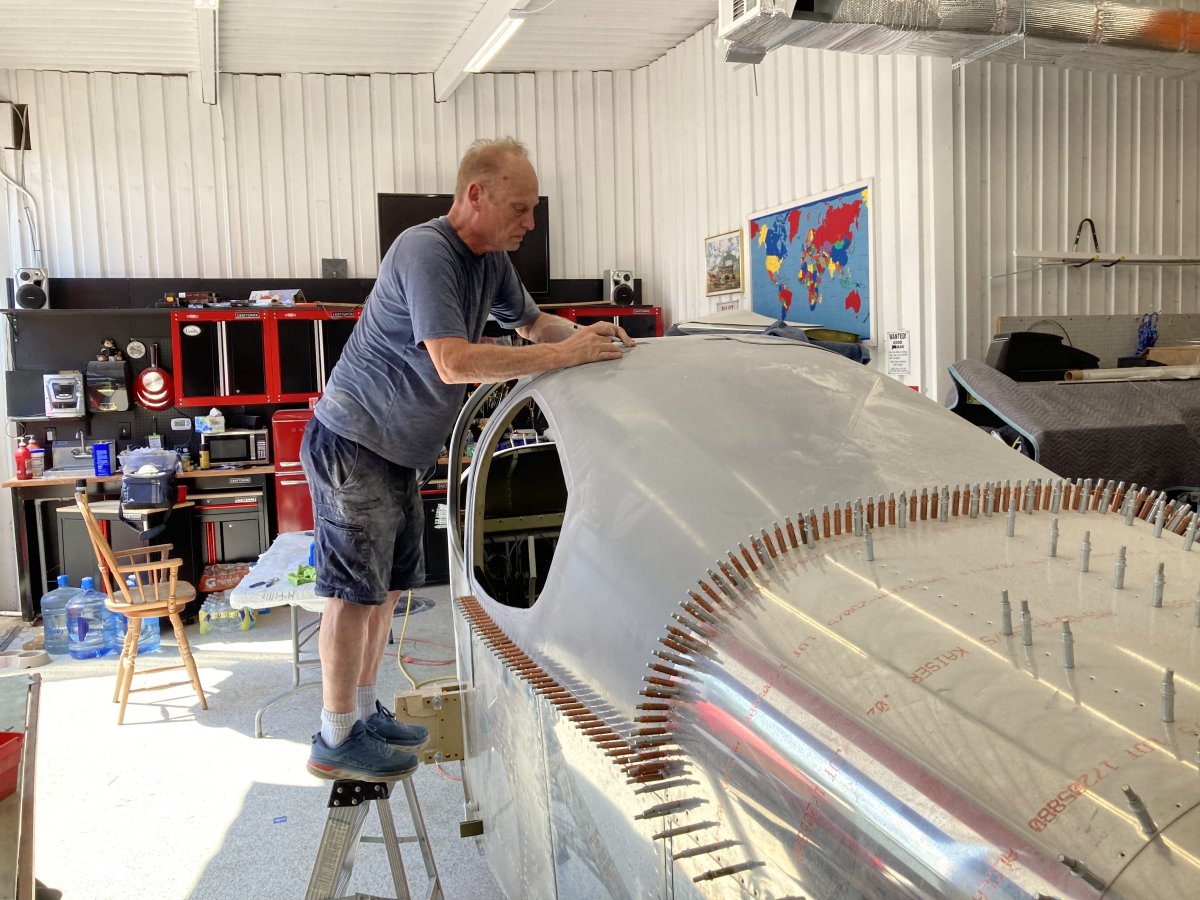
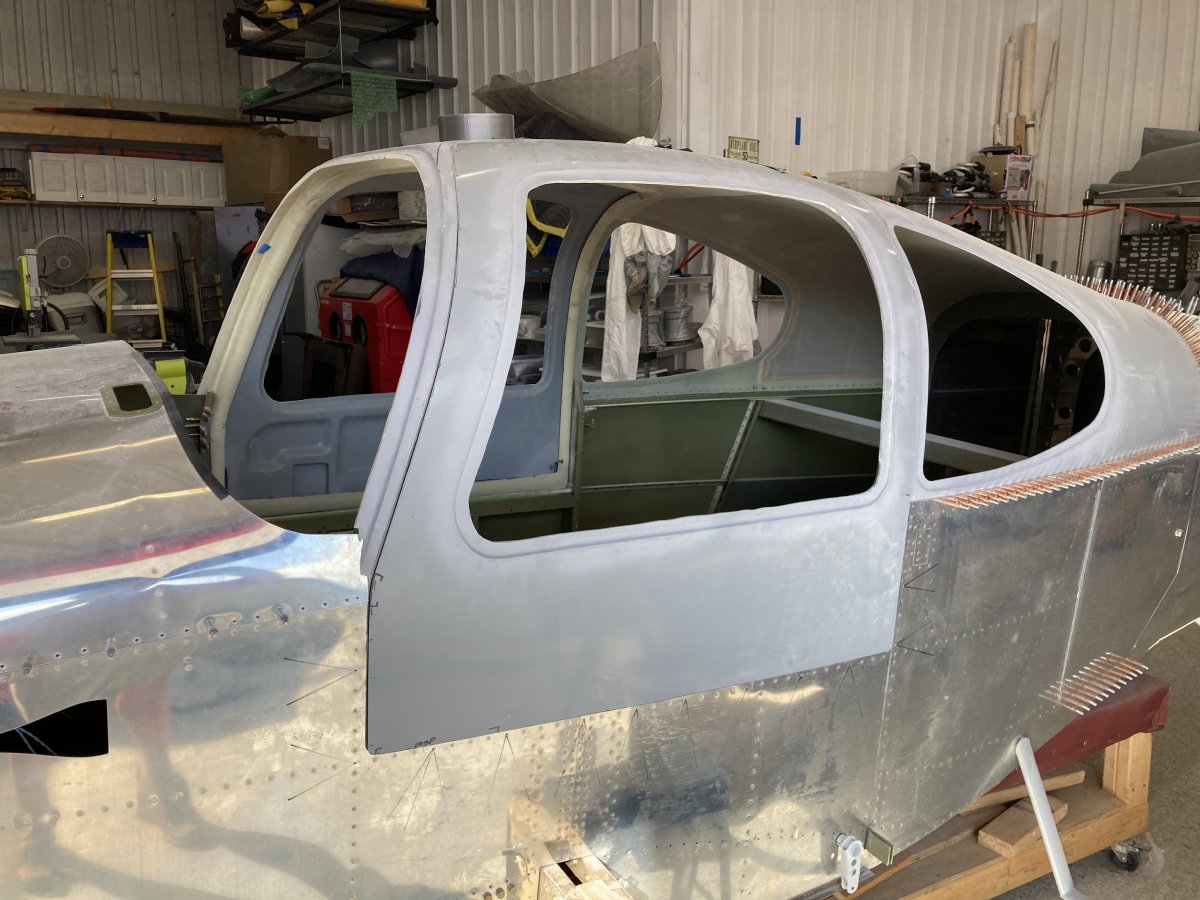
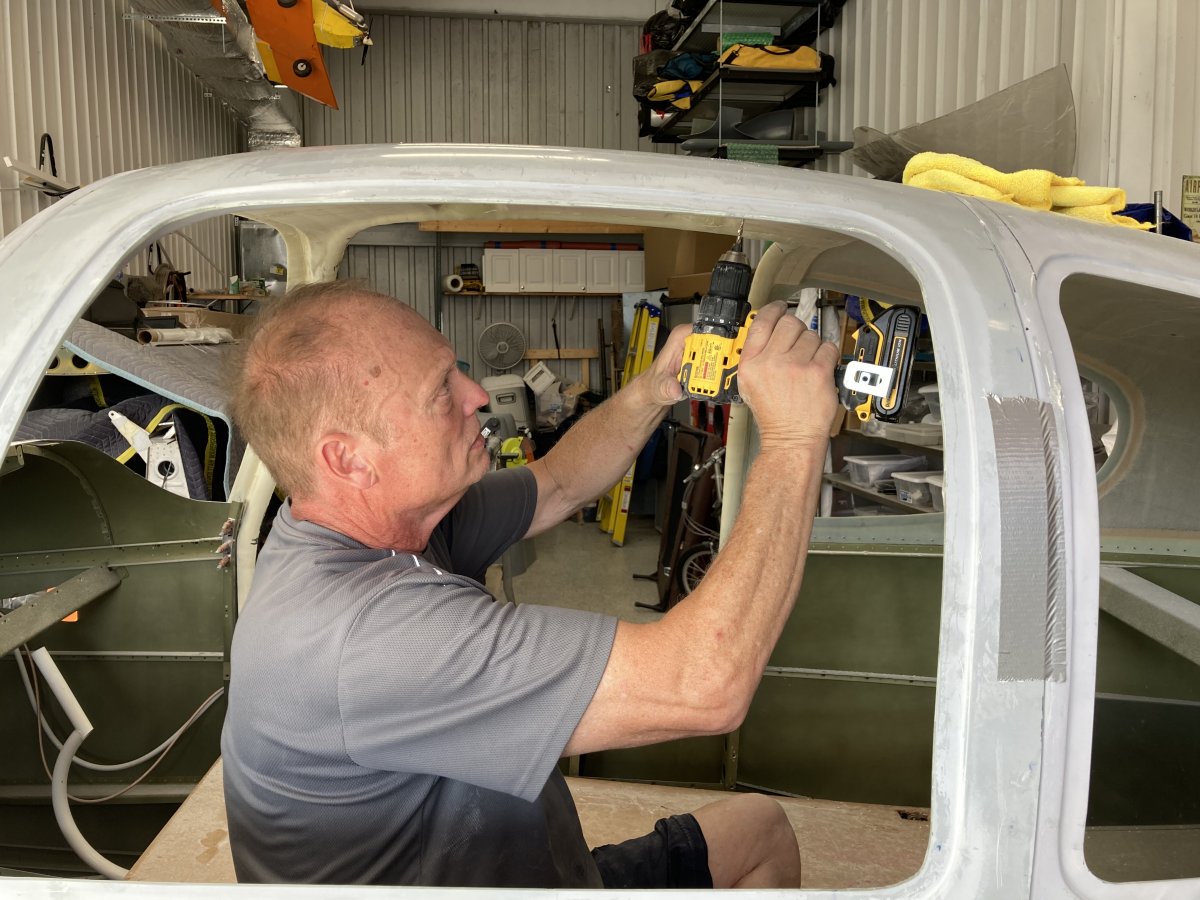
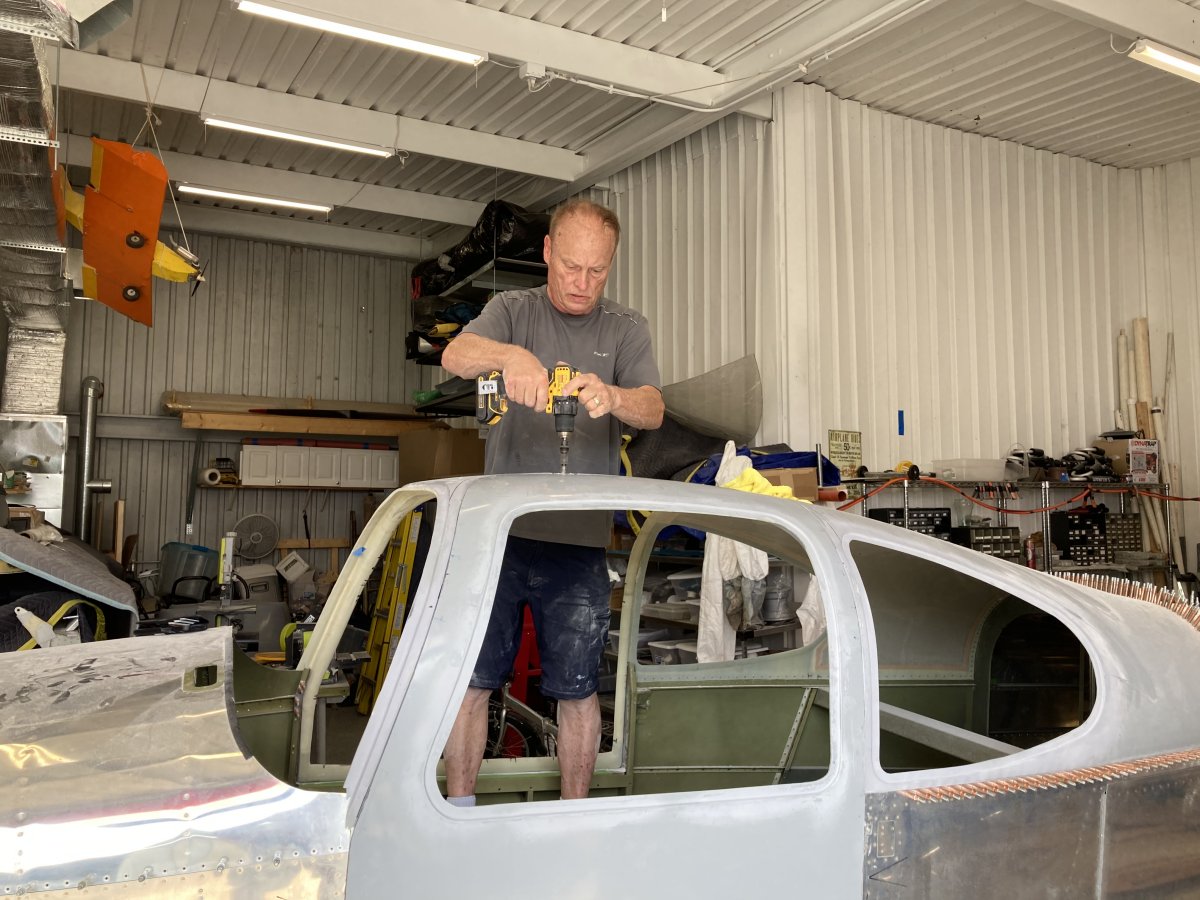
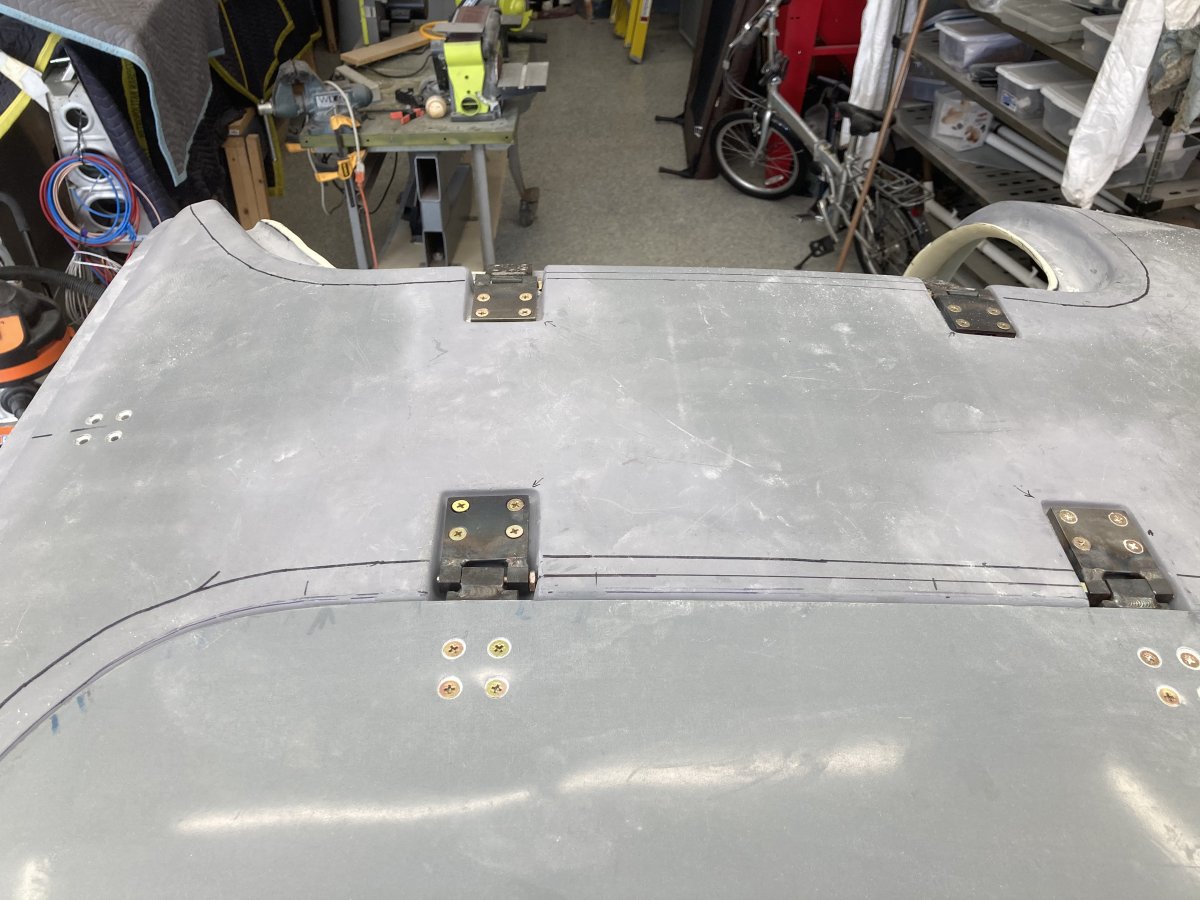
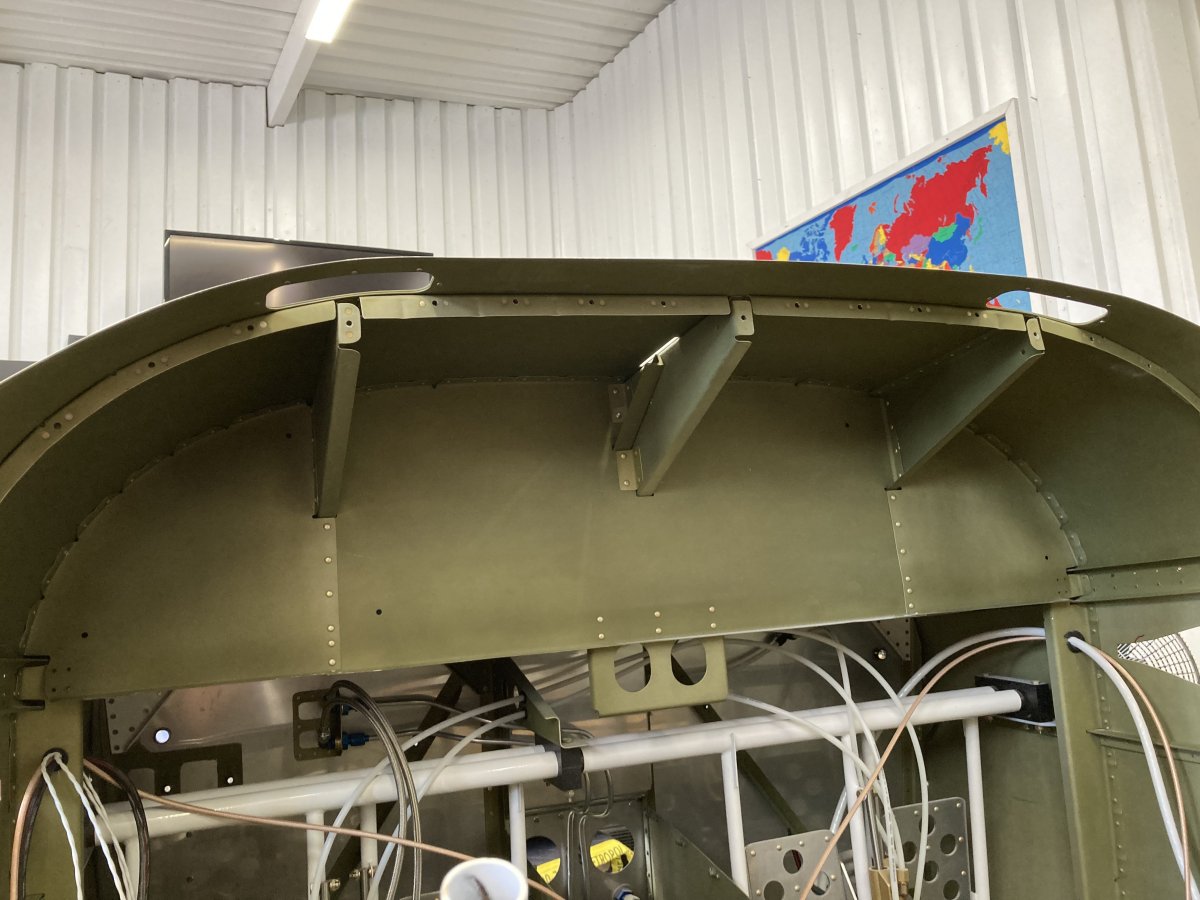
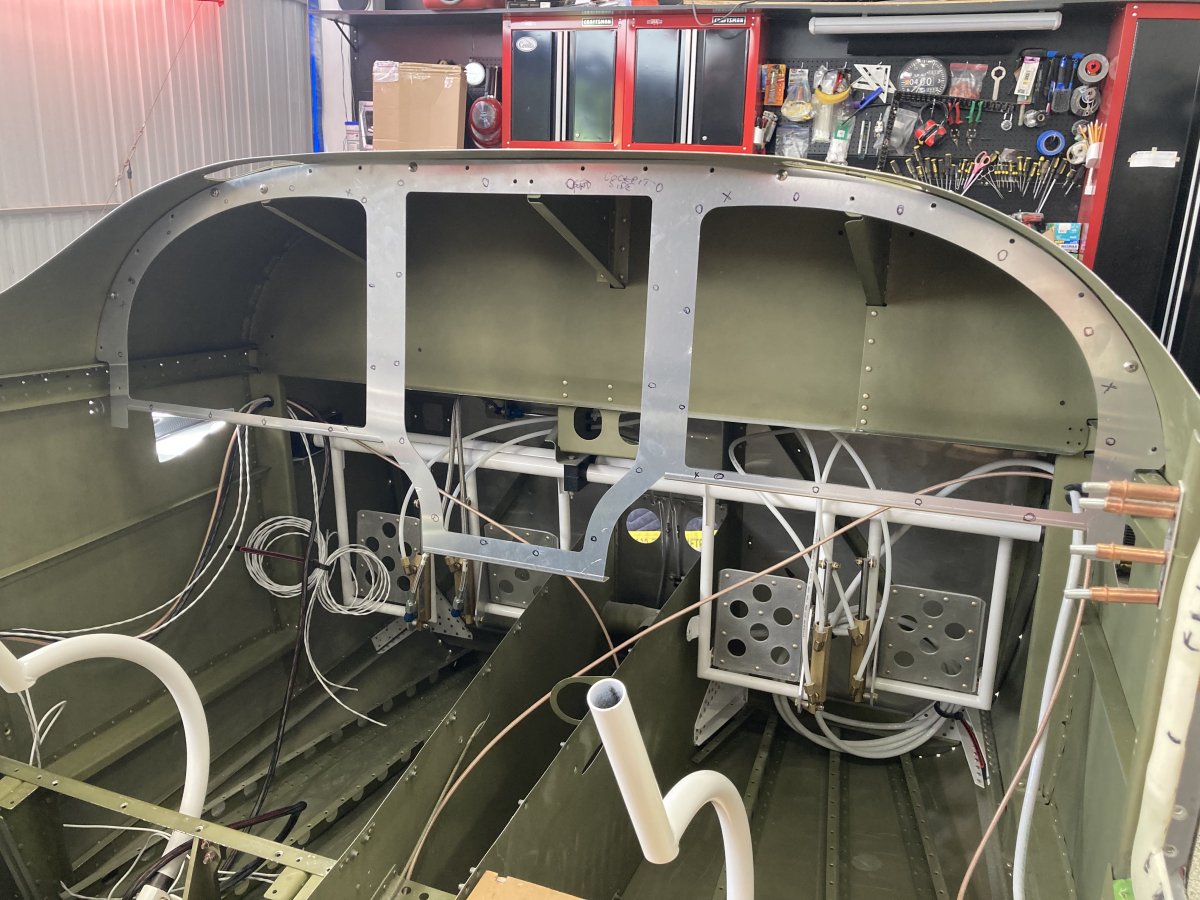
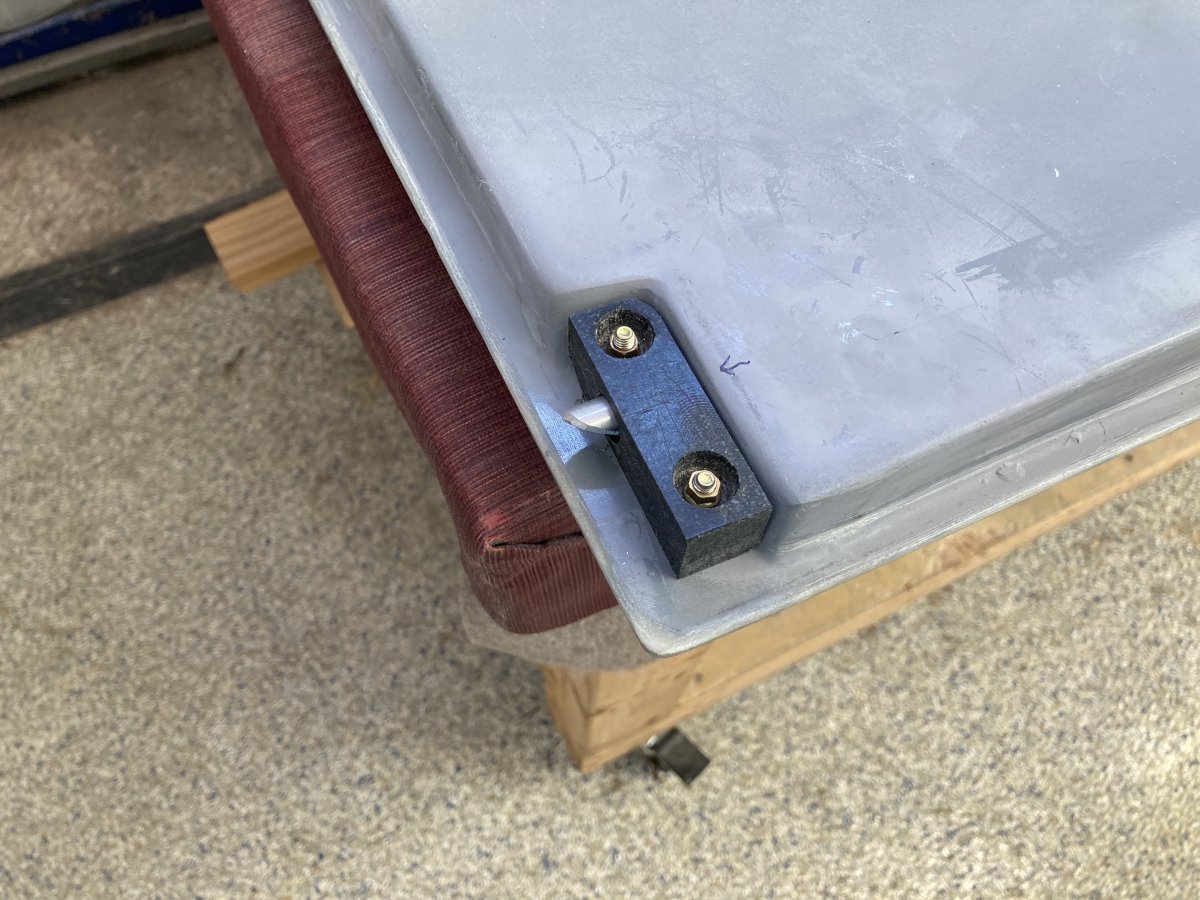
Here we drilled four holes in the cabin cover for the steel tube center support strut.
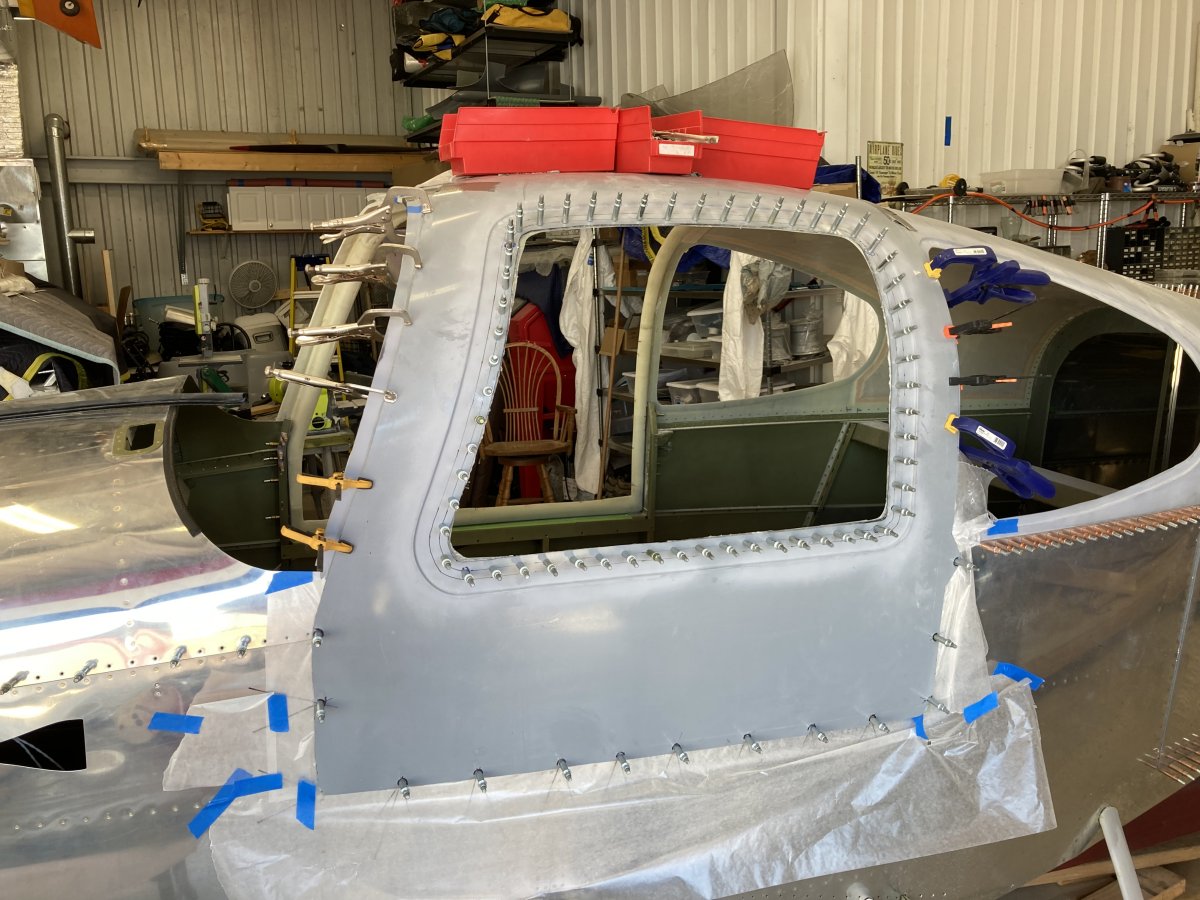
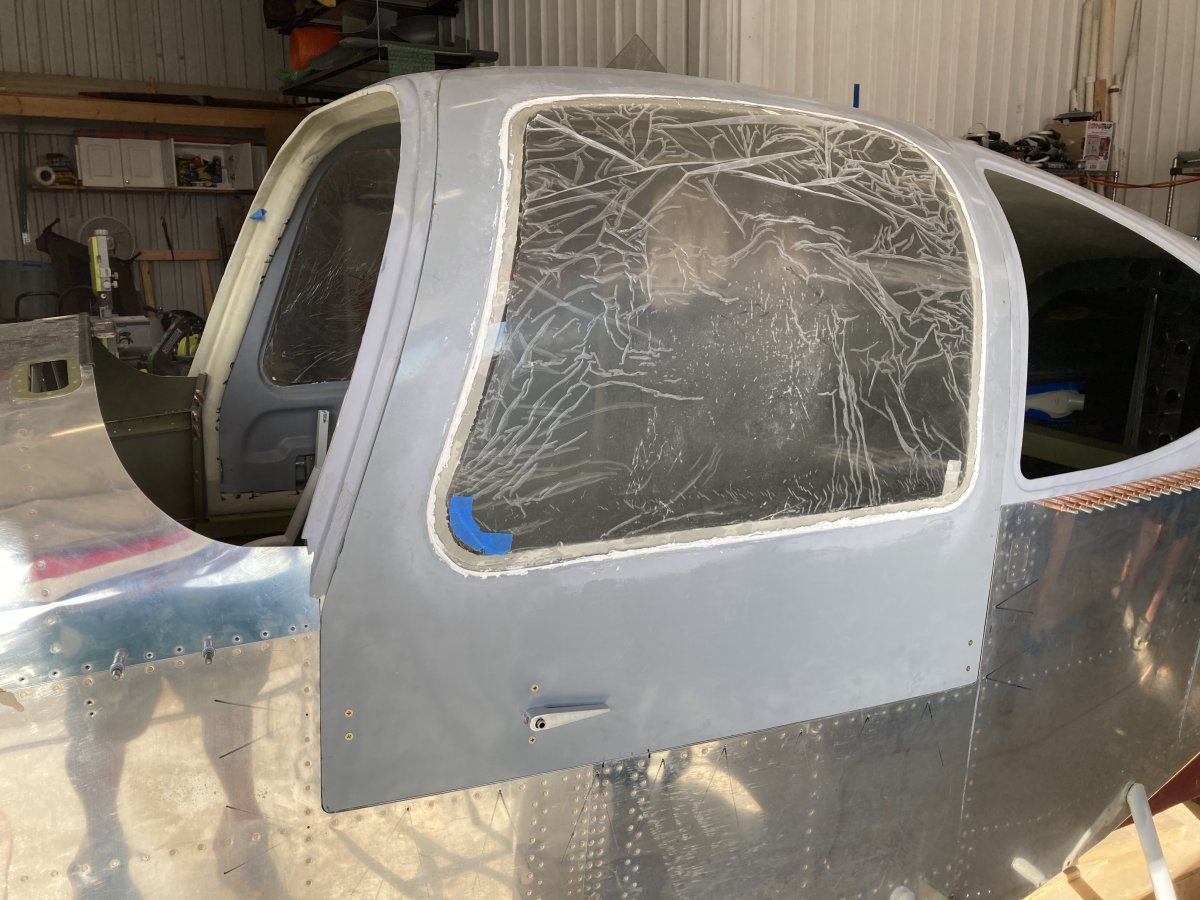
The two left-door pieces are epoxied together, then clecoed, clamped and duck-taped to the fuselage.
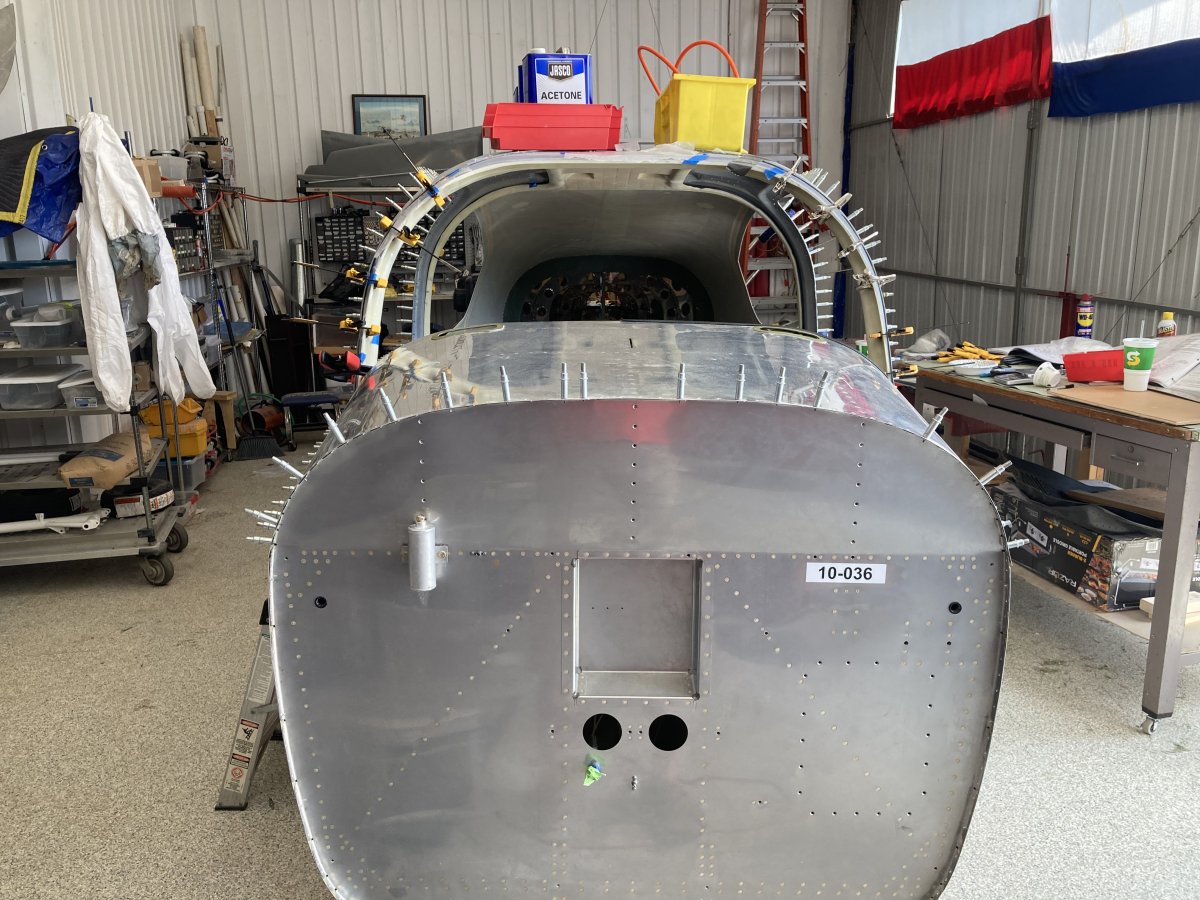
The right door halves are expoxied together and secured to the fuselage.
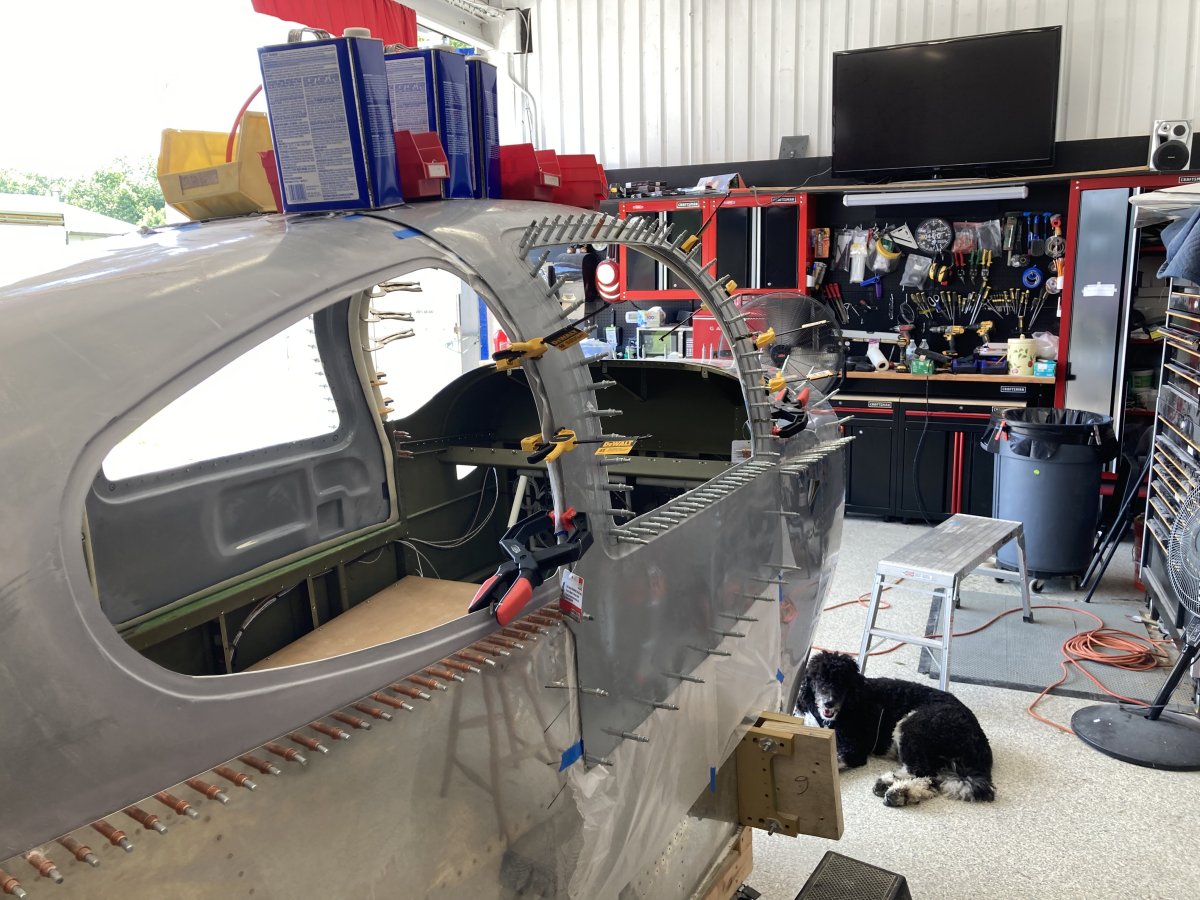
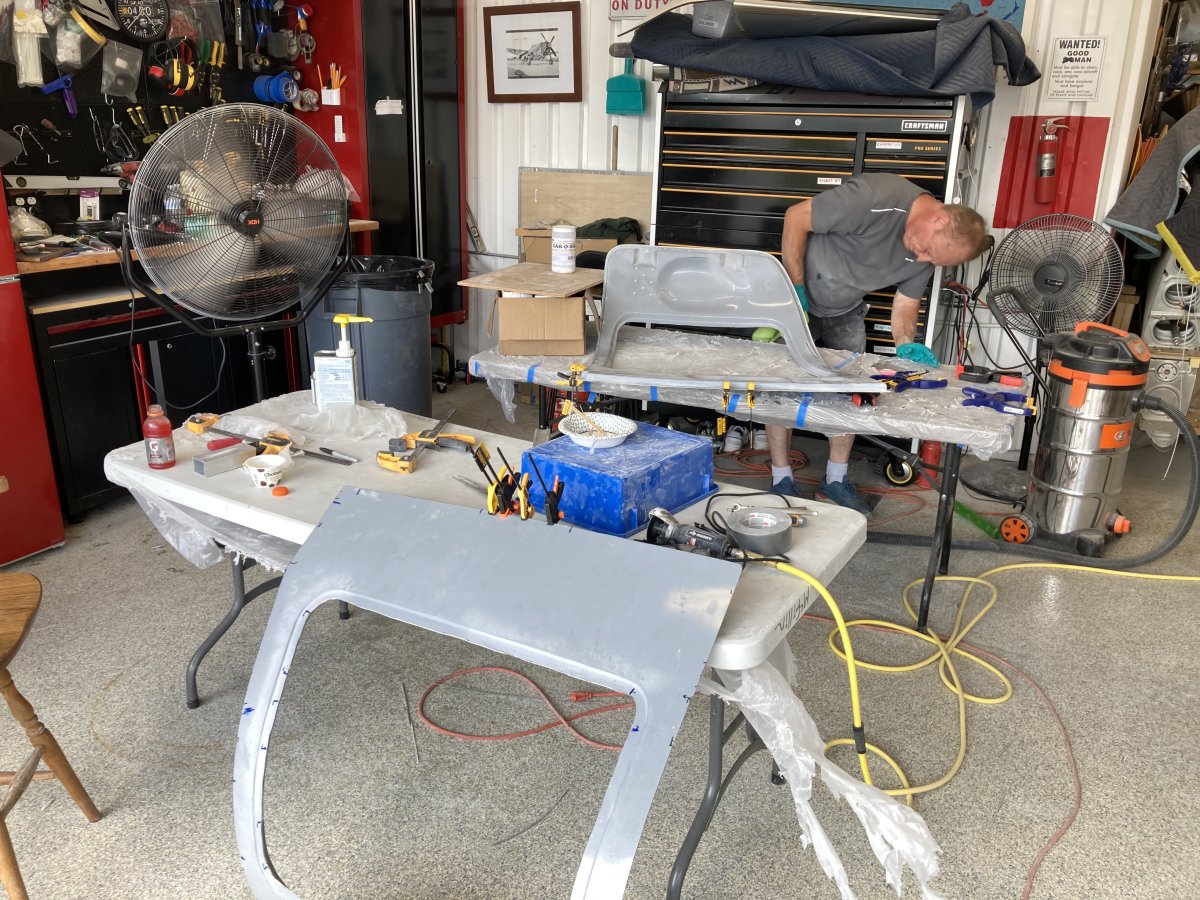
We went through many iterations of mark the door edges, take off the door, trim the door, put the door back on, and repeat. The goal was to get the door to sit flush with the cabin cover and fuselage, along with a 1/16" space around the edge. Easy to say, hard to do.
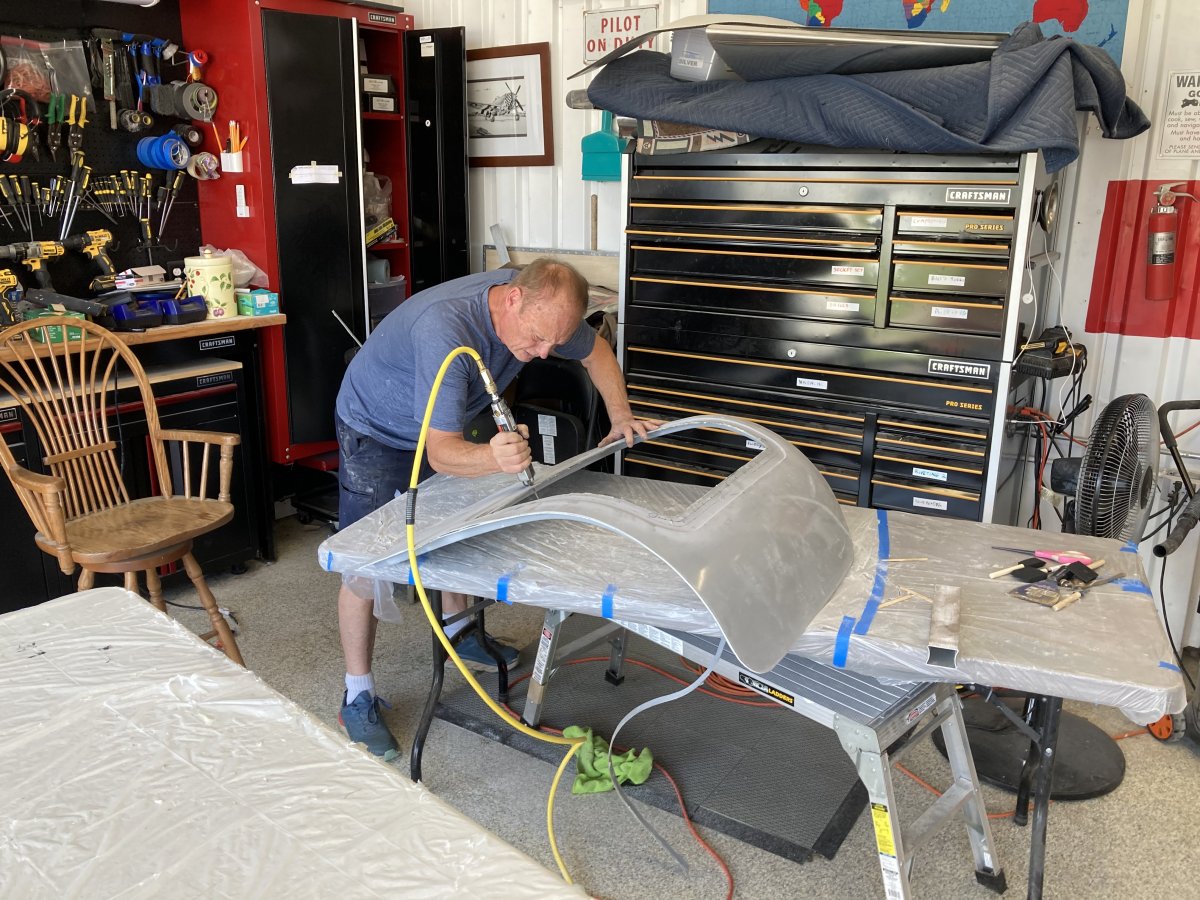
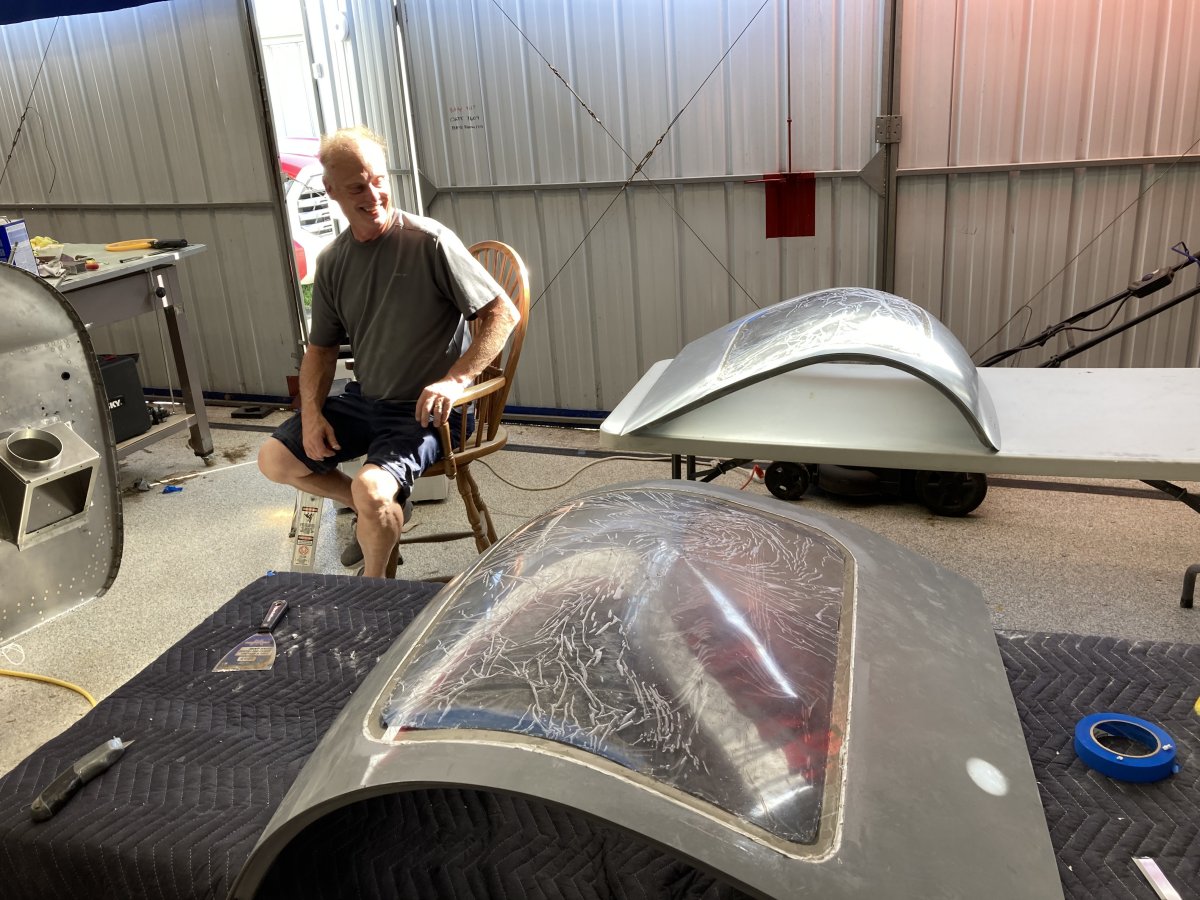
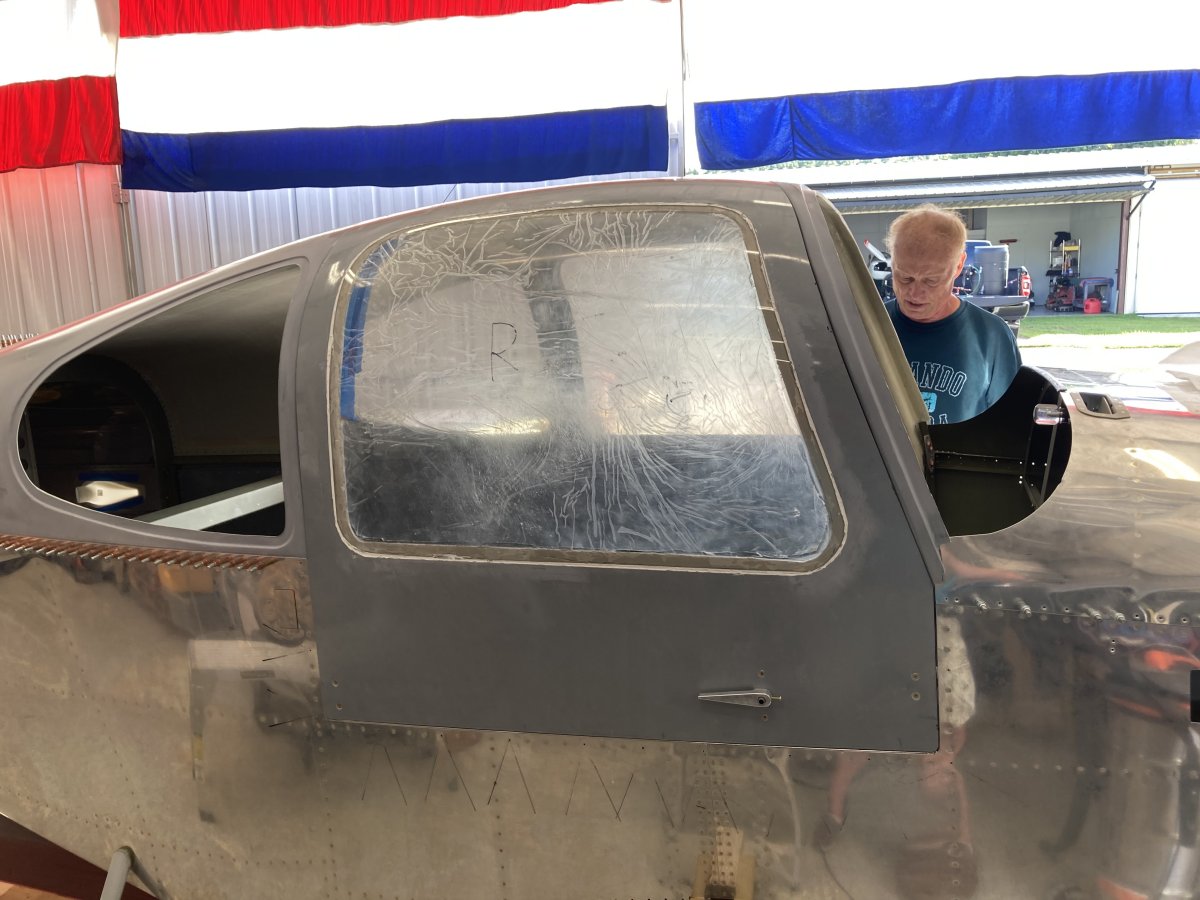
The first ever "lifting of the door".
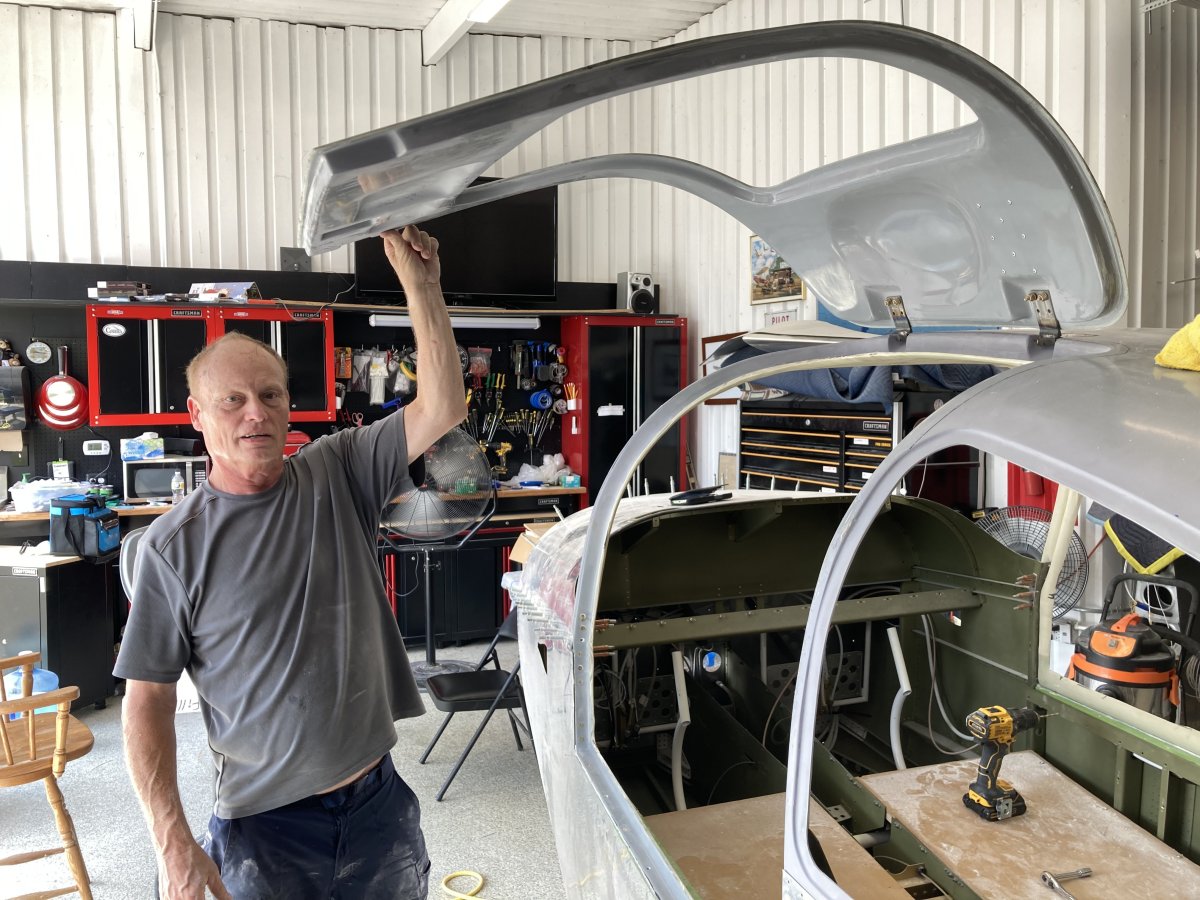
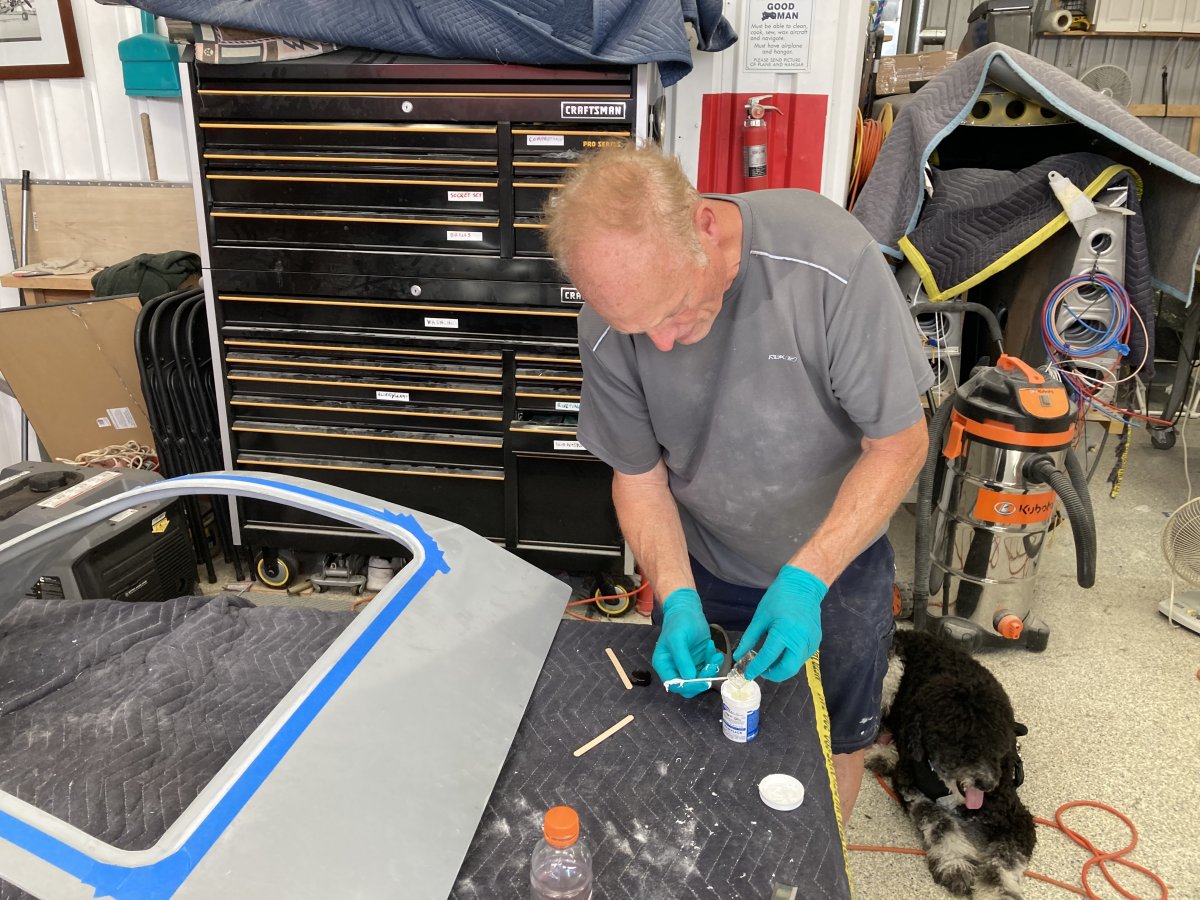
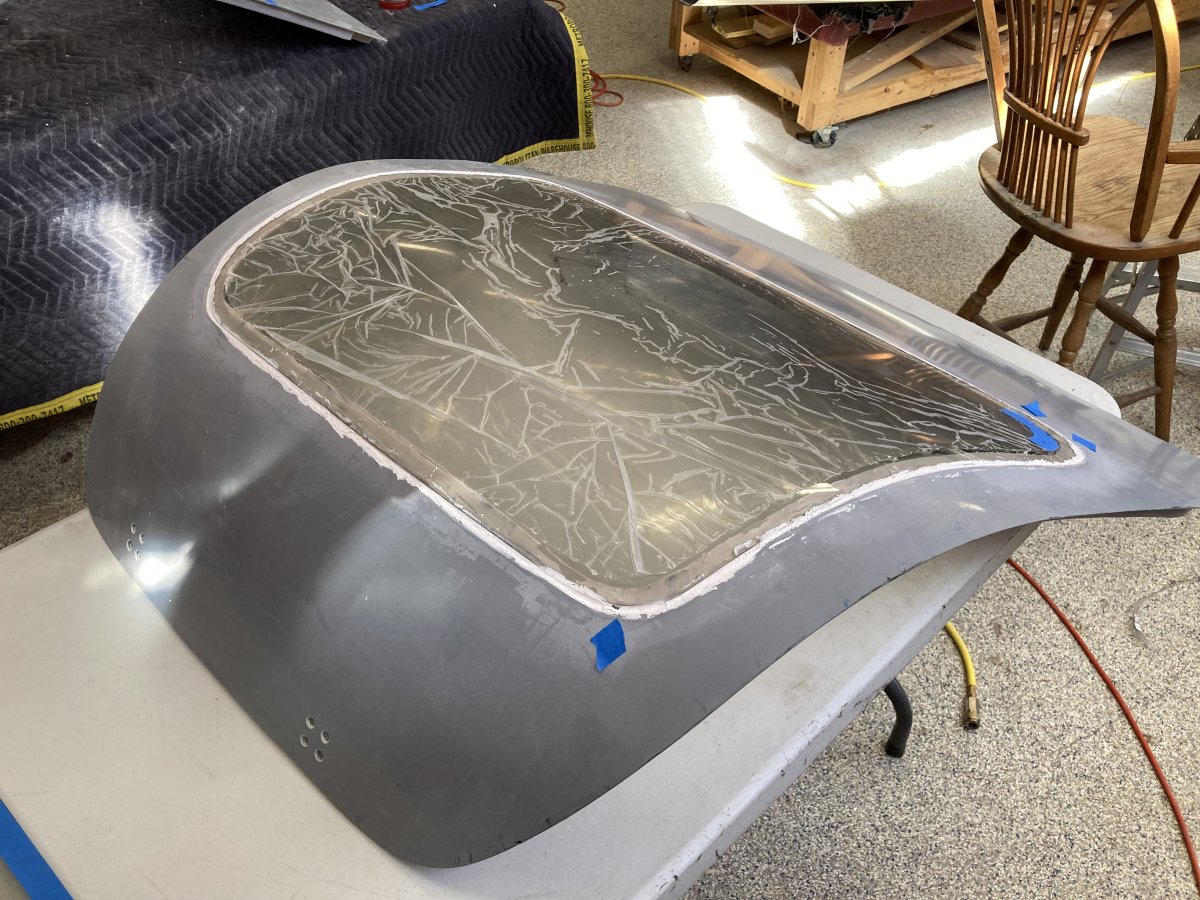
Rich is happy both door windows are epoxied in.
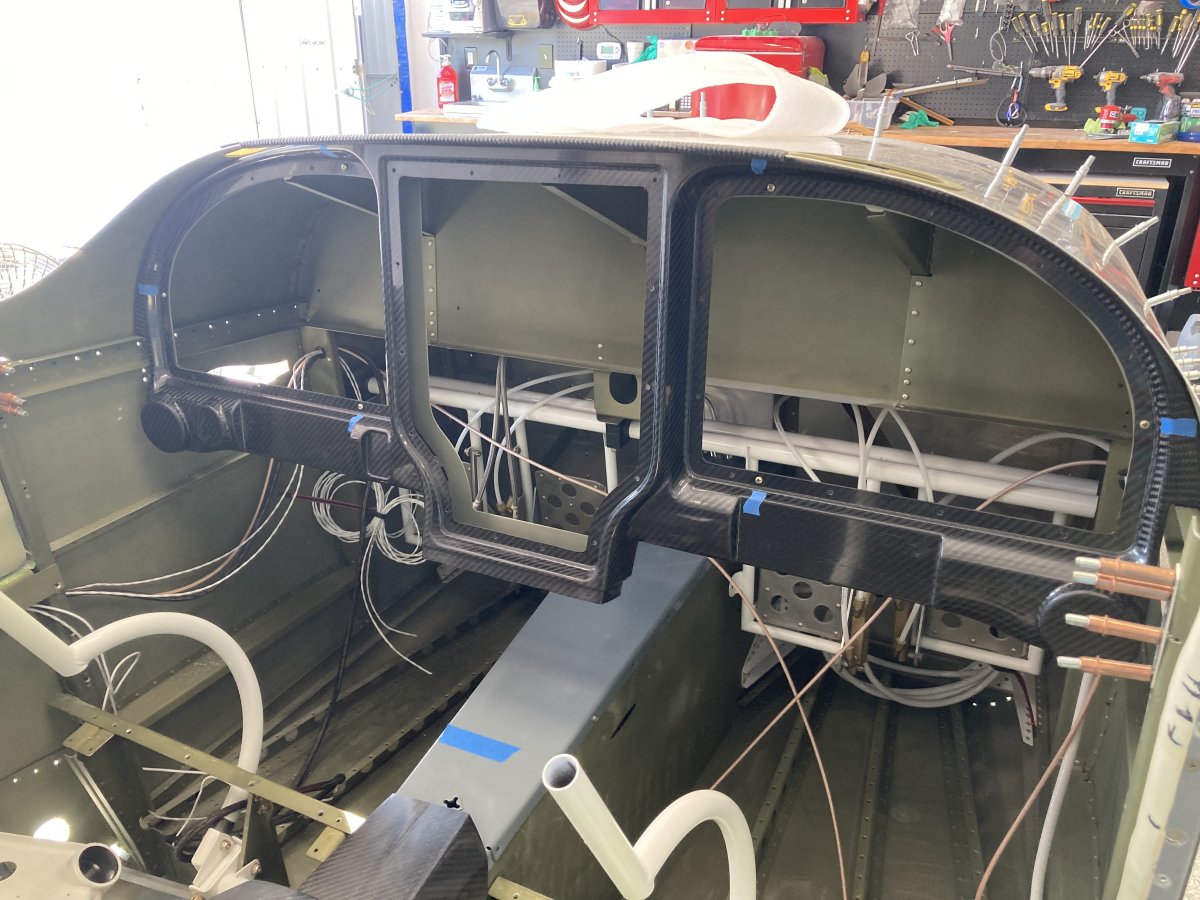
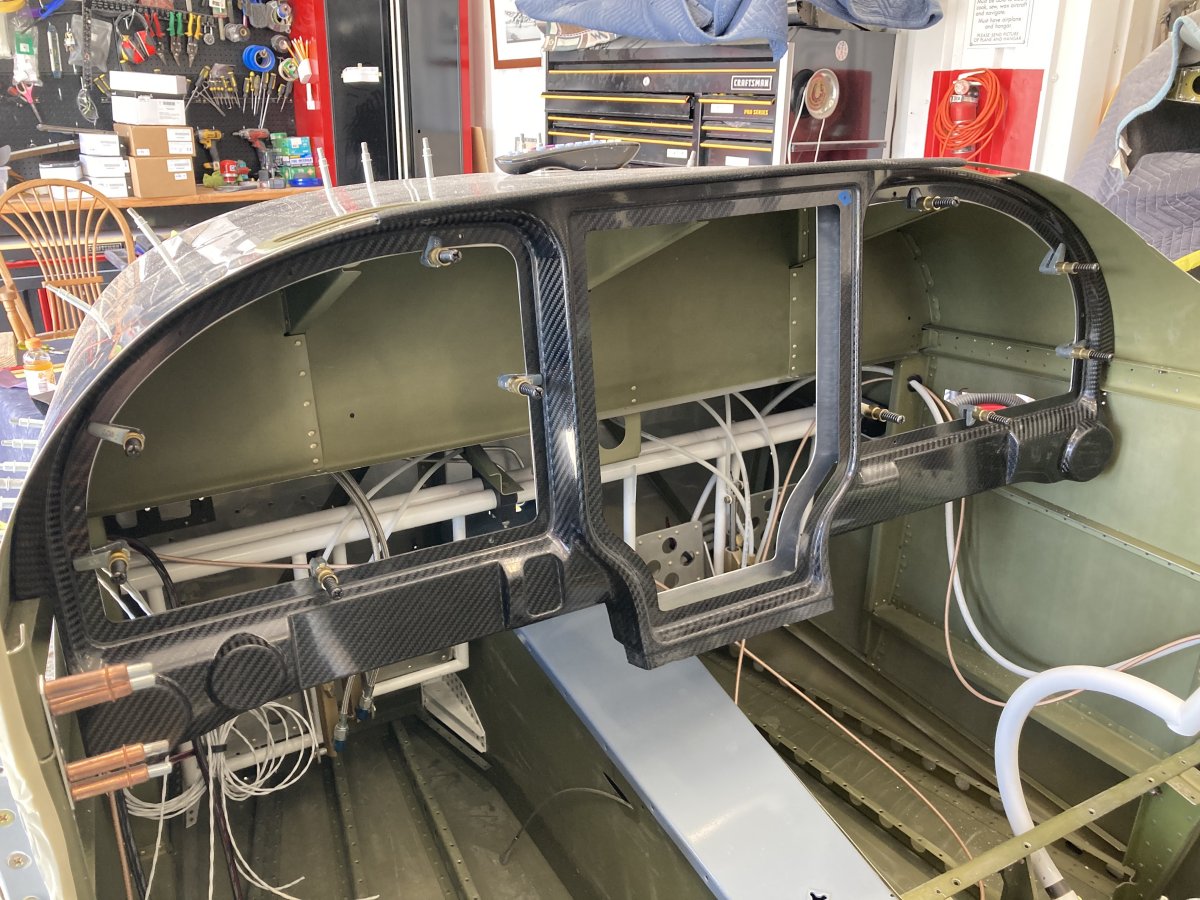
It's time to address the AeroSport carbon-fiber panel install. Here's the before -- no panel -- look.
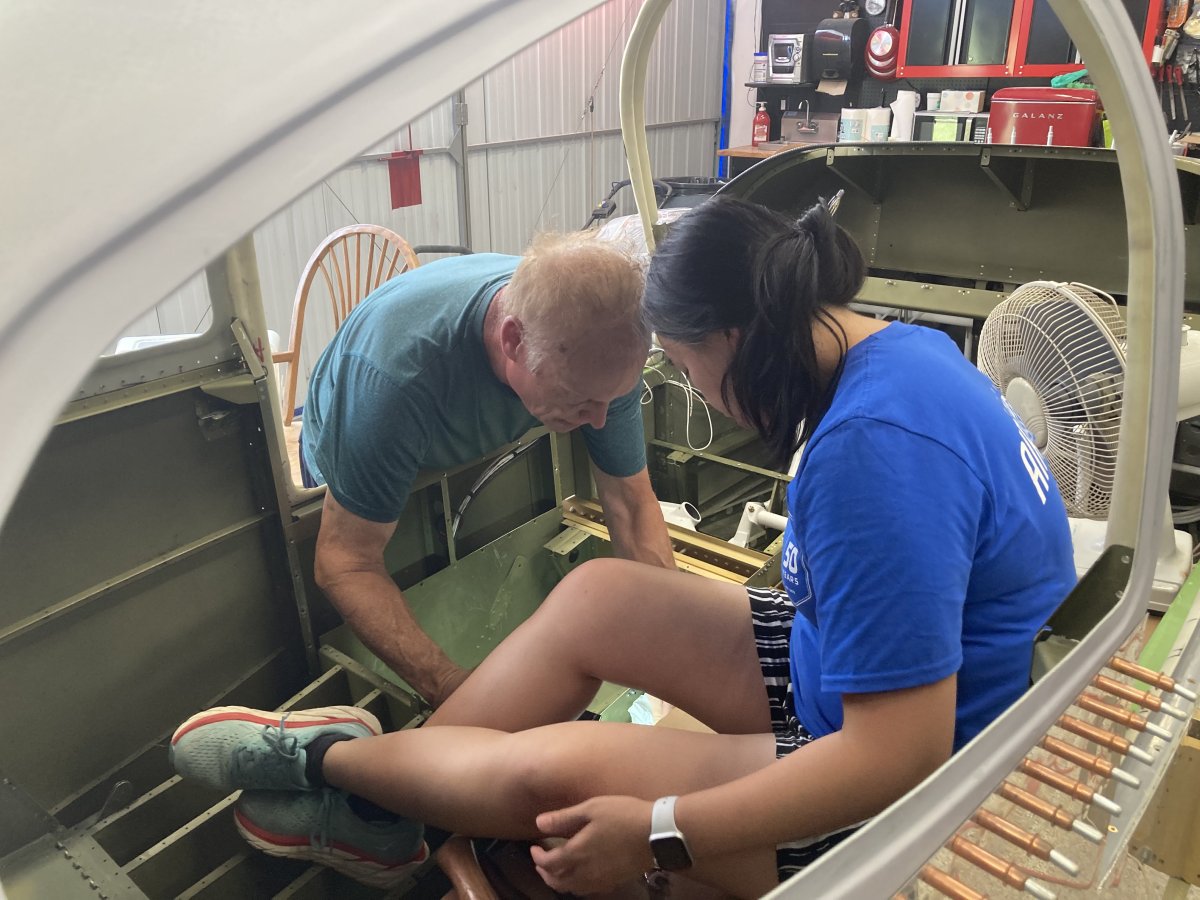
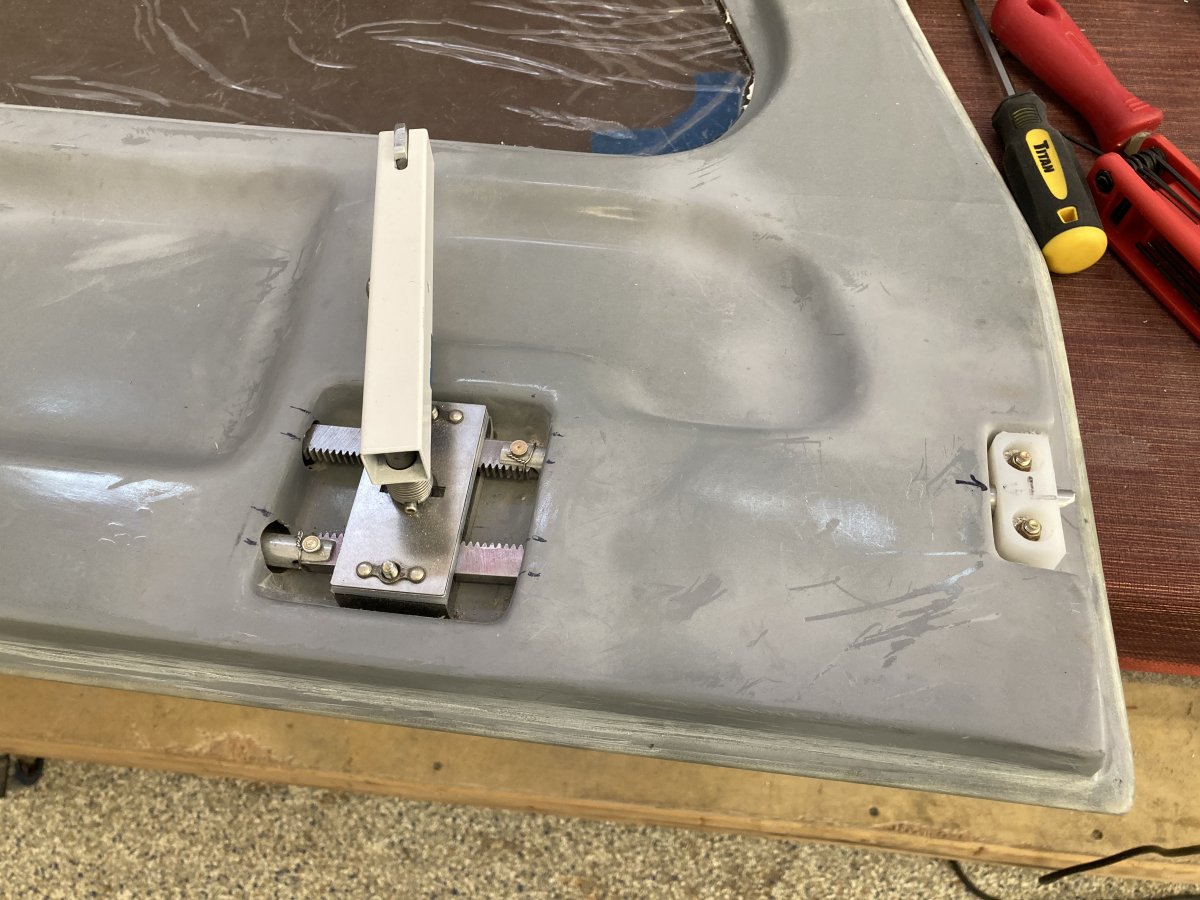
Back to the doors. Time to install the door-latching mechanism. I could not envision how it worked from the drawings, but we followed the instructions, and it began to make sense.
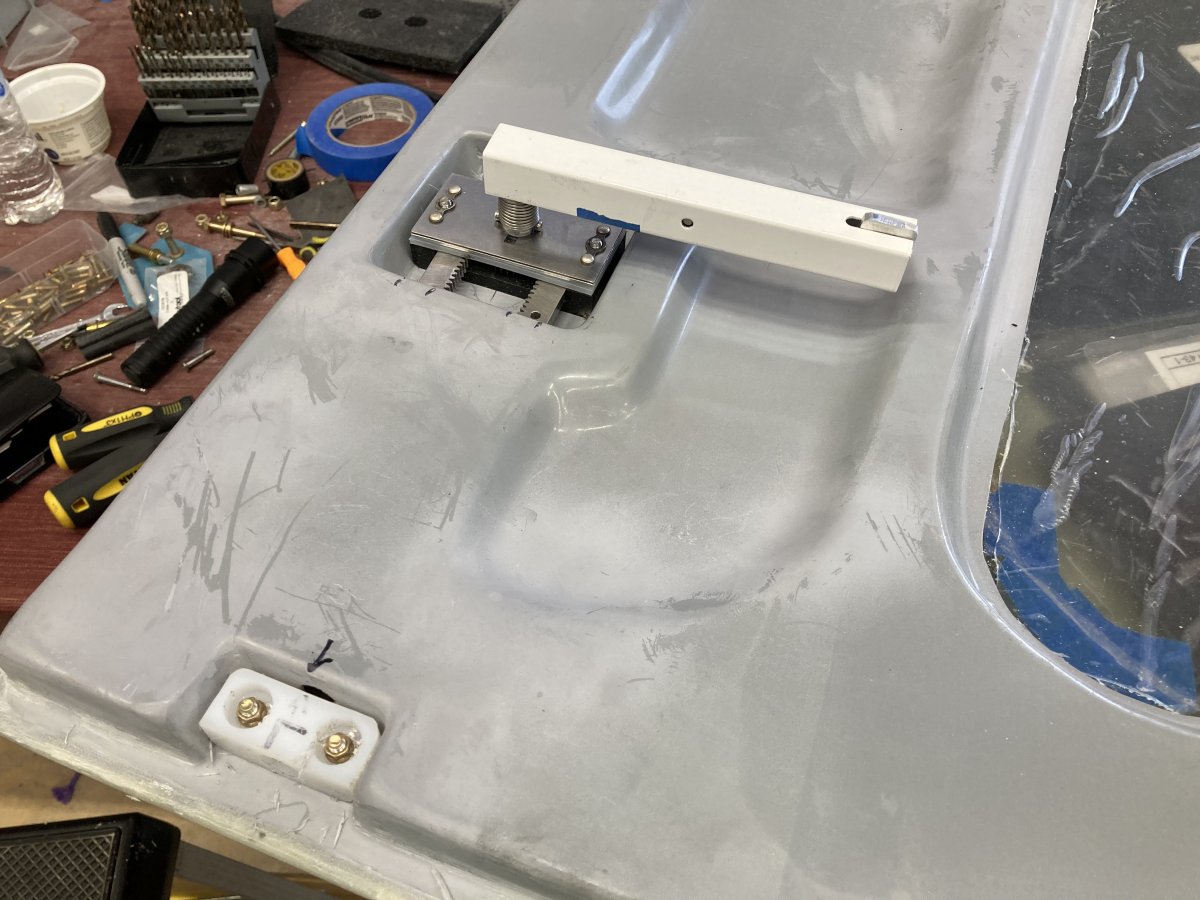
I won't begin to describe how it works. But the combination of steel, aluminum and plastic parts, gears, springs, and tubing does work. Whoever designed this system was very clever.
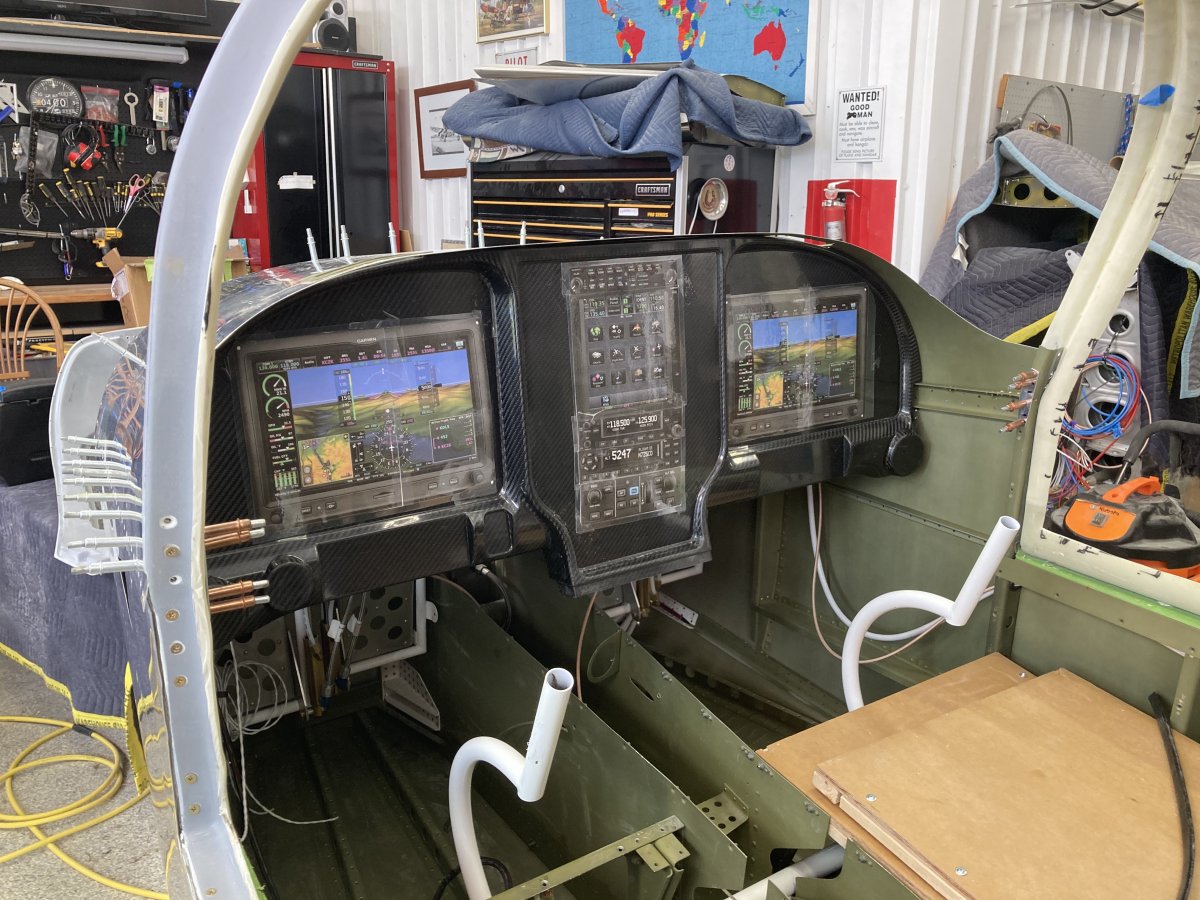
Back to the panel. The interior of the carbon-fiber panel has been removed. It will be replaced with three aluminum panel inserts, which actually hold the avionics. It's the first time I've worked with carbon fiber. I was literally covered in coal dust by the time I was finished cutting, filing and sanding.
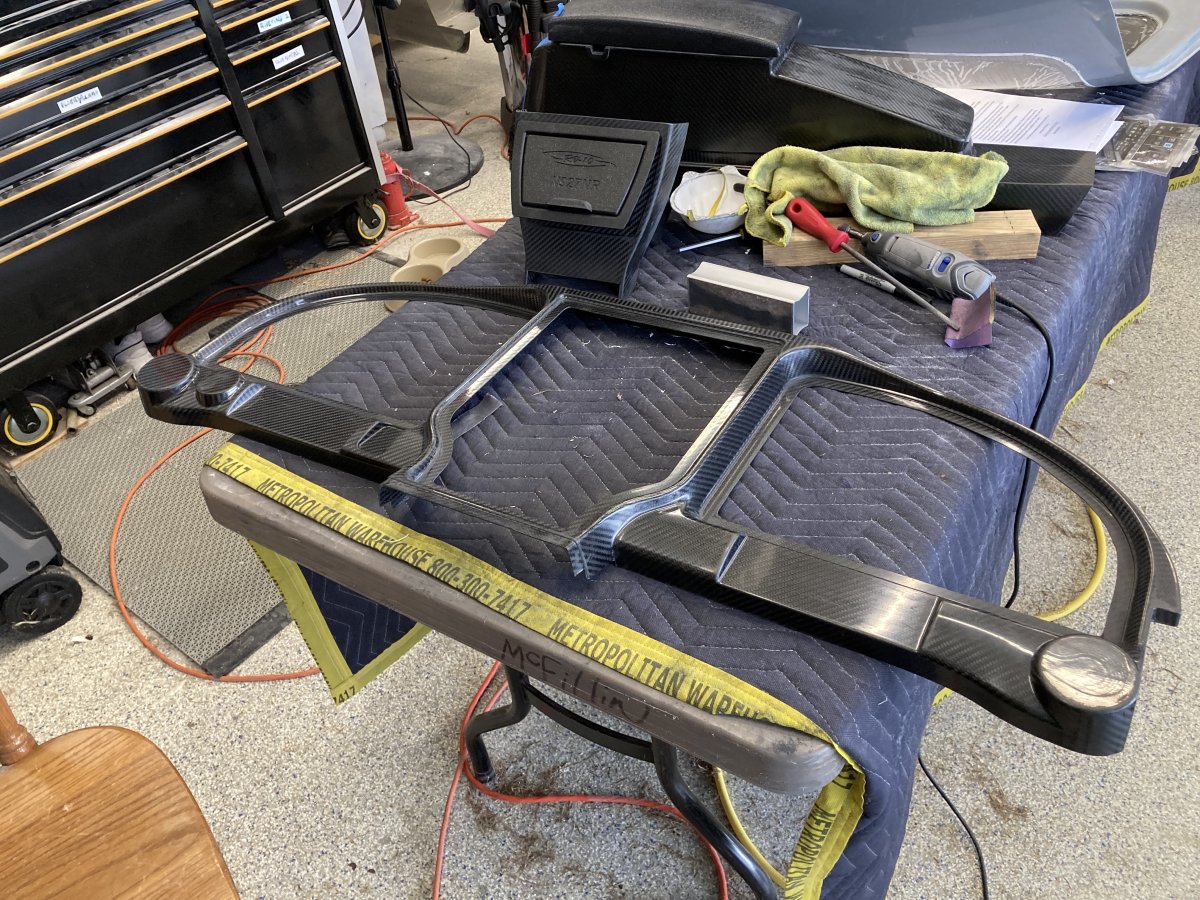
Now the carbon-fiber panel is screwed down to the support panel. The panel inserts should arrive in a few weeks. Some of the avionics has arrived and the rest is on the way. It's coming together!